Dark Minimalist Tv Wall Ideas
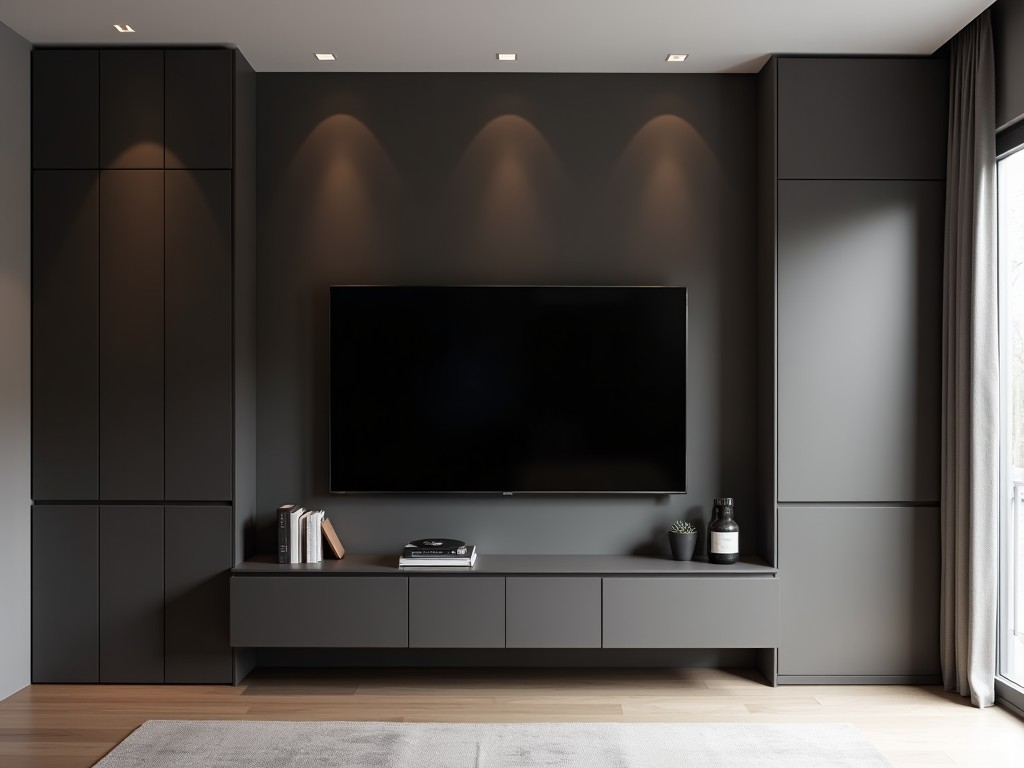
Dark Minimalist Tv Wall Ideas
Designing a TV wall with a dark minimalist aesthetic requires careful integration of structural support, cable management, and surface finish to achieve both visual cohesion and long-term durability.
- Category:
- TV Cabinet
Dark Minimalist TV Wall Ideas: Technical Design Considerations for Commercial and Residential Installations
Designing a TV wall with a dark minimalist aesthetic requires careful integration of structural support, cable management, and surface finish to achieve both visual cohesion and long-term durability. This approach prioritizes clean lines, reduced visual clutter, and material compatibility over decorative elements. The following sections outline key technical considerations for specifying and implementing such installations in professional environments.
Structural Support and Load Distribution
The primary load-bearing component of any TV wall system is the mounting structure, which must safely transfer the display’s weight to the building substrate. For dark minimalist designs, low-profile brackets are preferred to minimize visual protrusion behind the screen. These brackets typically use 10–12 gauge cold-rolled steel with powder-coated finishes in matte black or dark gray to absorb light and reduce glare. Load ratings should exceed the combined weight of the display and any attached peripherals (soundbars, cameras, sensors) by a minimum safety factor of 1.5x. For example, a 65-inch commercial display weighing 25 kg requires a mount rated for at least 37.5 kg static load.
Mounting to studs, concrete, or steel framing requires specific fasteners: lag screws into wood studs (minimum 50 mm embedment), concrete anchors (M8 or M10 wedge or sleeve types), or toggle bolts for hollow walls. The mounting interface must allow for vertical and horizontal adjustment (±10 mm) to compensate for substrate irregularities. All fasteners should be corrosion-resistant (e.g., zinc-plated or stainless steel) and torqued to manufacturer specifications to prevent creep or slippage over time.
Cable Management and Concealment
Exposed cabling contradicts the minimalist principle, necessitating integrated pathways for power, HDMI, Ethernet, and control cables. Recessed channels fabricated from PVC or aluminum extrusion (typically 20–30 mm wide) can be embedded into the wall substrate during construction or retrofit via surface-mounted raceways painted to match the wall finish. These channels must maintain a minimum bend radius of 25 mm to prevent signal degradation in high-bandwidth cables (e.g., HDMI 2.1, Cat6a).
For retrofit applications, surface-mounted raceways with snap-on covers offer a non-invasive solution. These are commonly made from impact-modified PVC with a matte black finish and feature adhesive backing or screw fixation. Internal dividers allow separation of power and data cables to minimize electromagnetic interference. Access points should be located at both the display mount and floor-level conduit or power source, with removable covers for future maintenance. Cable fill should not exceed 40% of the channel’s cross-sectional area to allow for ease of installation and future upgrades.
Surface Finish and Material Selection
The wall surface itself contributes significantly to the minimalist effect. Matte finishes in deep charcoal, black, or dark gray reduce ambient light reflection and prevent the wall from competing visually with the displayed content. Common substrate options include gypsum board with skim-coated joints, fiber cement board, or engineered wood panels. All joints must be taped, sanded, and primed before application of the final coating to avoid visible seams under directional lighting.
Coating systems should be selected based on durability and light absorption. Flat or matte acrylic latex paints with a reflectance value below 5% are standard for interior applications. For high-traffic or commercial environments, epoxy or urethane-based coatings offer superior abrasion resistance and cleanability while maintaining low gloss. Textured finishes (e.g., sand or stone effect) should be avoided as they create micro-shadows that disrupt the uniform appearance. Surface preparation is critical: substrate must be clean, dry, and free of contaminants to ensure adhesion and prevent premature coating failure.
Integration with Ambient Lighting and Acoustics
A dark minimalist TV wall performs optimally when paired with controlled ambient lighting. Indirect LED cove lighting installed at the top or bottom of the wall can provide subtle illumination without washing out the display. These strips should use 2700K–3000K color temperature LEDs with a CRI >90 and be mounted behind a diffusing lens to eliminate hotspots. Power supplies must be Class 2 rated and located in accessible junction boxes.
Acoustic considerations are often overlooked but critical in media rooms or conference spaces. The wall assembly should incorporate damping layers (e.g., mass-loaded vinyl or viscoelastic polymers) behind the finish layer to reduce sound transmission and prevent resonant vibrations from the display or speakers. For perforated acoustic panels used behind the TV, the open area ratio should be between 15–25% to balance sound absorption with visual continuity. All materials must comply with relevant fire safety ratings (e.g., ASTM E84 Class A or B) for interior wall applications.
| Design Element | Technical Specification | Purpose |
|---|---|---|
| Mounting Bracket | Cold-rolled steel, 10–12 gauge, powder-coated matte black | Minimize visual profile; support display load with safety margin |
| Cable Channel | PVC or aluminum extrusion, 20–30 mm width, matte black cover | Conceal and protect cabling; maintain signal integrity |
| Wall Finish | Matte acrylic latex paint, reflectance <5%, applied over primed substrate | Reduce glare; ensure visual uniformity |
| Ambient Lighting | 2700K–3000K LED, CRI>90, indirect cove installation | Provide low-level illumination without affecting contrast |
| Acoustic Backing | Mass-loaded vinyl or viscoelastic layer, 2–3 mm thickness | Reduce vibration transmission; improve sound isolation |
Installation Sequence and Quality Control
A consistent installation sequence ensures alignment between structural, electrical, and finish layers. Begin with substrate preparation: inspect for flatness, repair imperfections, and apply primer. Install blocking or backing between studs at the mount location to prevent pull-through. Run conduits or raceways for power and data before closing the wall. Mount the display bracket, verify level and plumb, then hang the screen. Finally, apply the finish coating and install trim or lighting elements.
Quality checks should occur at each stage: use a laser level to confirm mount alignment (<3 mm deviation over 2 m), test cable continuity and signal integrity before termination, and inspect the finish under 500 lux daylight-simulating lighting to detect imperfections. Document all measurements and material batches for warranty and maintenance reference. For commercial projects, third-party inspection at rough-in and final stages is recommended to validate compliance with design intent.
Environmental conditions during installation affect material performance. Maintain ambient temperature between 18–25°C and relative humidity below 60% during coating application to prevent blushing or poor adhesion. Allow minimum 24-hour cure time before applying mechanical load or exposing to cleaning agents. Protective covering should be used during subsequent construction phases to prevent damage to the finished surface.
Long-Term Maintenance and Serviceability
Designing for service access reduces lifecycle costs and minimizes downtime. Cable channels should include removable sections or pull cords to facilitate future upgrades. Mounting hardware must remain accessible for torque checks every 12–24 months, particularly in seismic zones or high-vibration environments. Finish coatings should be cleaned with pH-neutral solutions and microfiber cloths; abrasive cleaners or solvents will degrade matte surfaces over time.
Touch-up procedures vary by coating type. For acrylic paints, feather-in repairs using the same batch number and application method (roller or spray) to avoid gloss differences. For epoxies or urethanes, consult the manufacturer for compatible patching compounds. Always test cleaning or repair methods in an inconspicuous area first. Maintain a log of maintenance activities, including date, materials used, and observed conditions, to support predictive maintenance planning.