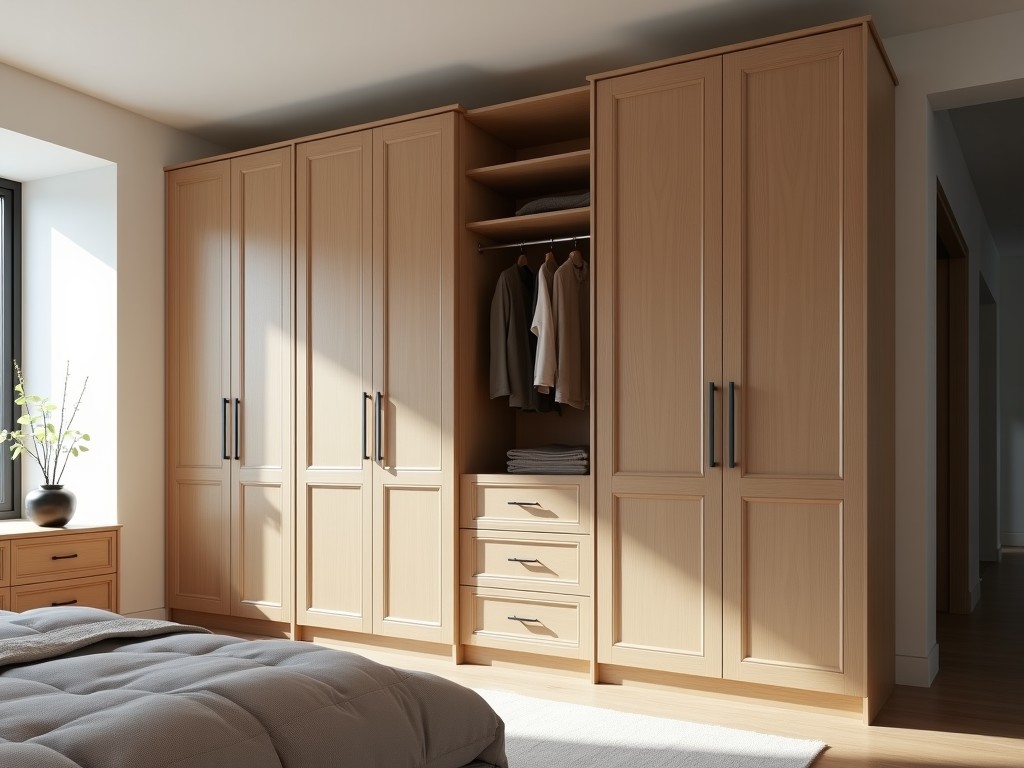
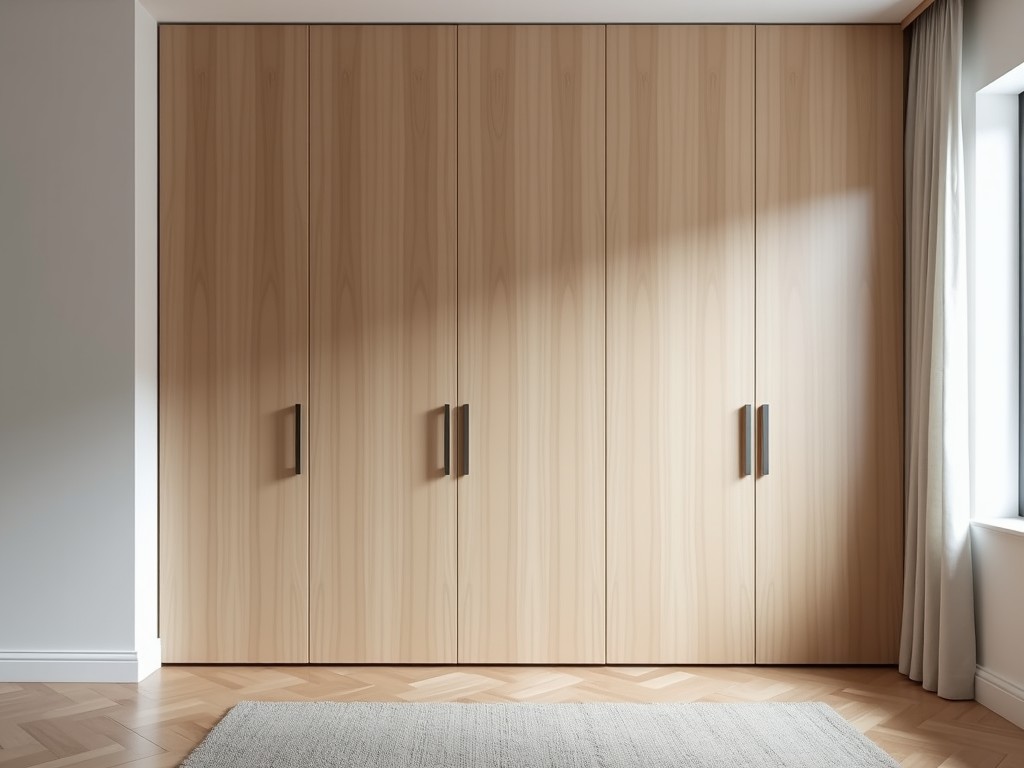
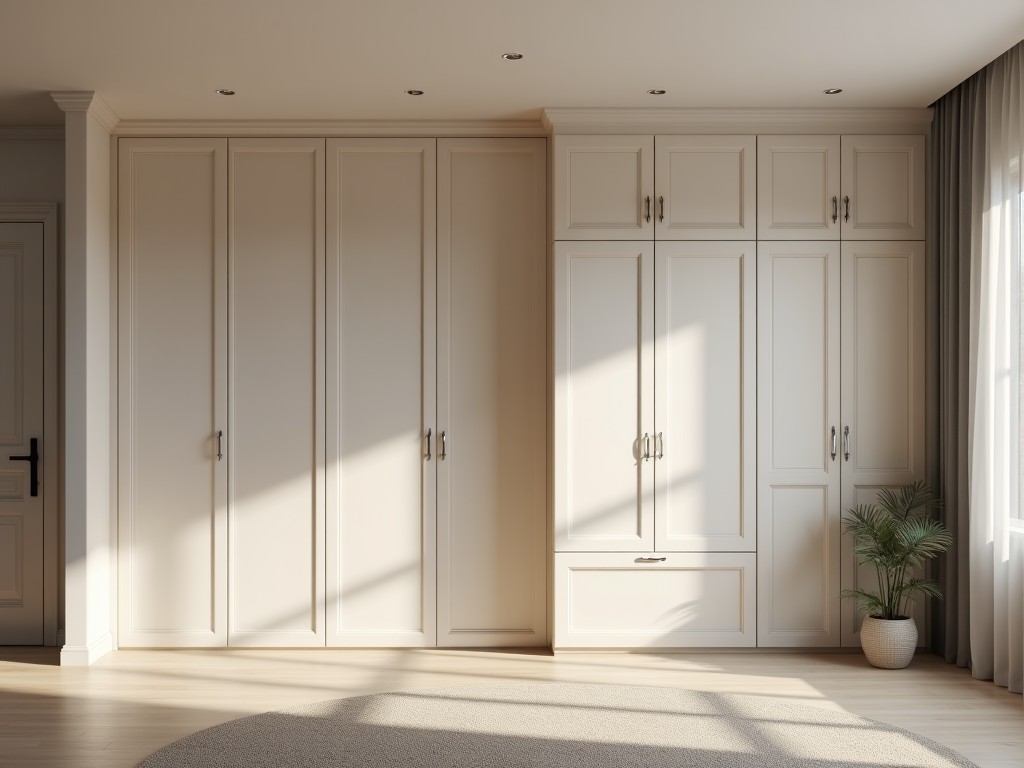
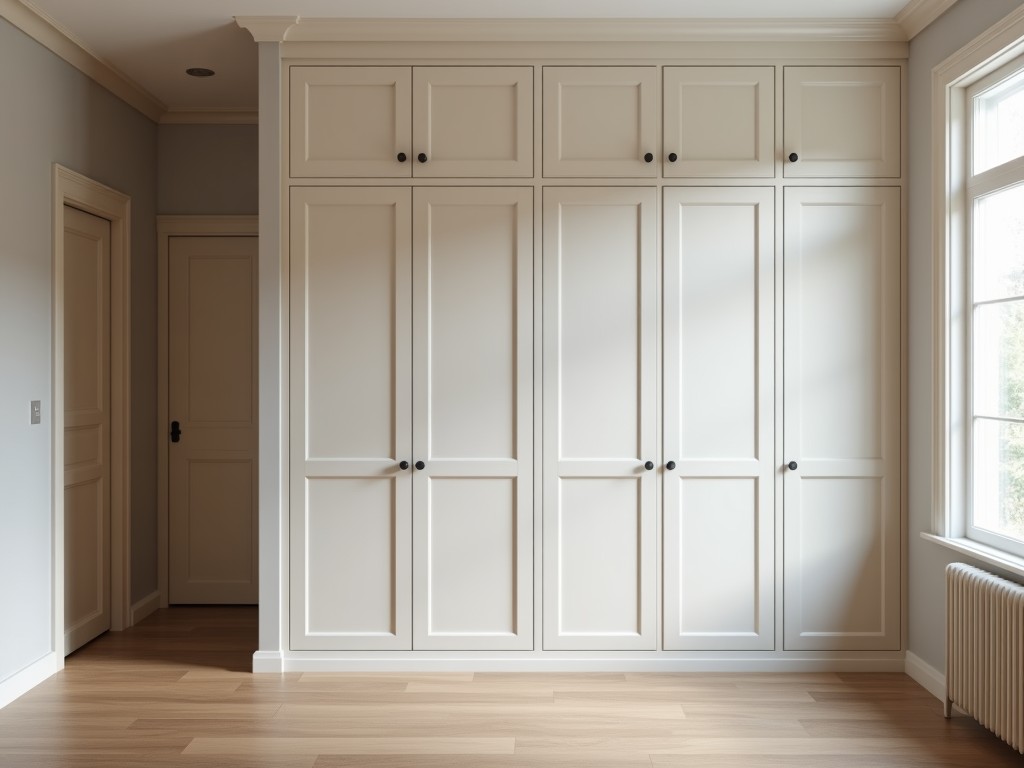
One Wall Kitchen Cabinets Design Layout
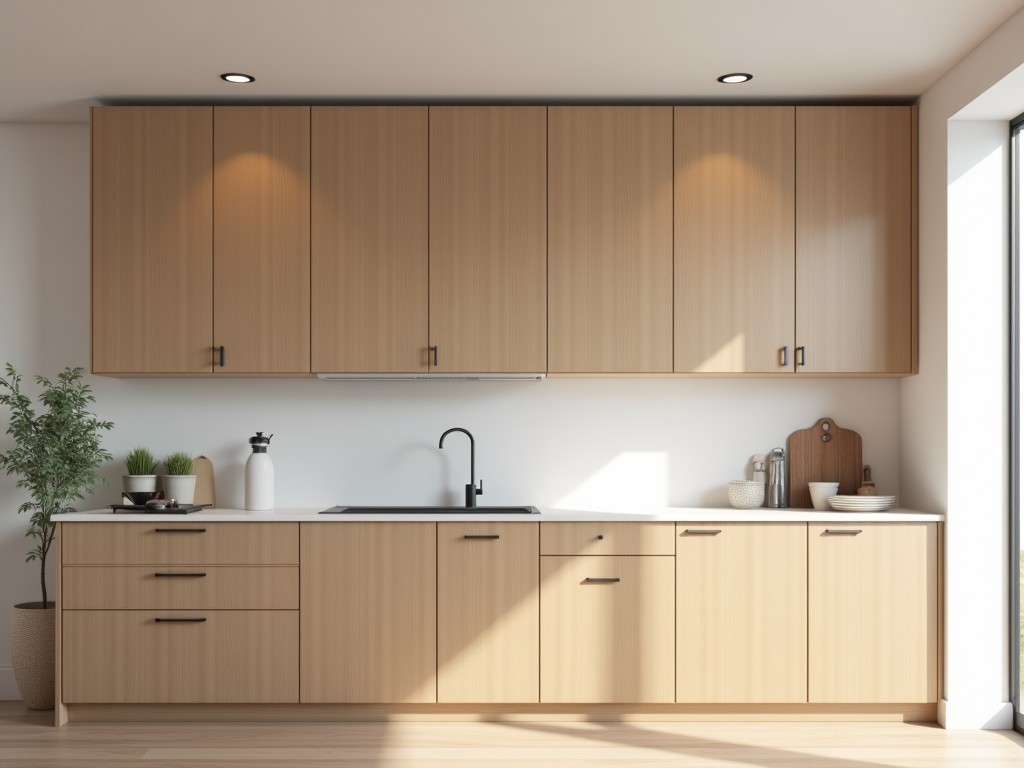
One Wall Kitchen Cabinets Design Layout
A one-wall kitchen cabinet layout consolidates all storage, preparation, and appliance zones along a single continuous wall. This configuration is commonly selected for compact residential units,
- Category:
- Kitchen Cabinet
One Wall Kitchen Cabinets Design Layout
A one-wall kitchen cabinet layout consolidates all storage, preparation, and appliance zones along a single continuous wall. This configuration is commonly selected for compact residential units, studio apartments, or secondary kitchen spaces where floor area is limited. The design maximizes vertical storage capacity while maintaining an unobstructed workflow along the wall’s length.
The layout’s effectiveness depends on precise zoning: typically, the refrigerator occupies one end, followed by base cabinets for storage, a centered sink and cooktop sequence, and upper cabinets aligned above for dishware and pantry items. Clearance standards—such as 420mm between countertop and upper cabinets, and 900mm minimum walkway width—must be respected to ensure ergonomic access and compliance with residential kitchen guidelines.
Material selection for one-wall cabinets prioritizes dimensional stability and moisture resistance due to prolonged exposure to steam, grease, and cleaning agents. Common substrates include 18mm melamine-faced particleboard for cost-sensitive projects or 18mm marine-grade plywood for high-humidity environments. Door panels often use 16mm MDF with PVC foil or polyurethane finish, selected for scratch resistance and ease of maintenance.
Hardware specifications significantly influence long-term performance. Soft-close hinges with 35mm cup diameter and 110° opening angle reduce impact stress on cabinet frames. Drawer systems typically employ full-extension ball-bearing slides rated for 30–40kg dynamic load, ensuring smooth operation under full utility storage. Adjustable legs (±15mm) on base cabinets compensate for uneven flooring, a critical consideration in retrofit installations.
Lighting integration is frequently overlooked but essential for task visibility. Under-cabinet LED strips with 4000K color temperature and minimum 80 CRI are standard for illuminating countertops without glare. Power routing must accommodate dedicated circuits for appliances (e.g., 16A for cooktops, 10A for refrigerators) while concealing conduit within soffits or behind filler panels to maintain a clean aesthetic.
Design Considerations for One-Wall Layouts
The single-wall constraint necessitates careful appliance sequencing to avoid workflow interference. Placing the sink between the refrigerator and cooktop creates a logical triangle within linear limits, minimizing cross-traffic during food preparation. Deviating from this sequence—for example, locating the cooktop at one end and the refrigerator at the opposite—can increase unnecessary movement and reduce efficiency.
Upper cabinet depth is typically limited to 300mm to prevent head contact during standing work, whereas base cabinets maintain a standard 600mm depth. This asymmetry requires precise countertop overhang (usually 25–40mm) to align with appliance fronts and ensure a seamless visual plane. Filler strips (50mm wide) are often used between cabinets and walls to accommodate plaster irregularities and allow door swing clearance.
Ventilation planning must address the concentration of heat and moisture along one wall. A wall-mounted range hood with minimum 600mm width (matching cooktop size) and 600 m³/h extraction capacity is commonly specified. Ducting should exit externally within 3 meters to maintain static pressure; recirculating models require charcoal filters replaced every 6–12 months depending on usage.
Electrical layout demands early coordination. Countertop receptacles must be spaced no more than 900mm apart (per IEC 60364-5-55) and positioned above the countertop to avoid water exposure. Dedicated 20A circuits are recommended for microwave ovens and coffee stations, while lighting circuits should be separated from appliance loads to prevent nuisance tripping.
Customization Options
One-wall cabinet systems are highly adaptable to specific spatial and functional requirements. Customization begins with accurate field measurements—particularly wall height, floor level variation, and obstruction locations (e.g., pipes, vents)—which inform cabinet sizing and filler placement. Modular design allows for incremental adjustments without redesigning the entire run.
Interior accessories can be tailored to storage needs: pull-out pantry units (80–100mm wide) maximize narrow spaces; corner carousel systems (though less common in linear layouts) may be adapted for end-wall returns; vertical dividers for baking sheets and tray organizers reduce clutter in deep drawers. These options are selected based on user habits rather than assumed standards.
Finish options extend beyond standard white or gray. Textured laminates (e.g., wood grain, concrete effect) or painted MDF with custom RAL/NCS codes allow integration with broader interior design schemes. Edge banding thickness (typically 0.5–2.0mm PVC or ABS) must match substrate durability—thicker bands are preferred for high-impact areas like base cabinet corners.
| Component | Typical Specification | Customizable Range |
|---|---|---|
| Cabinet Height (Upper) | 720mm | 600mm–900mm (in 60mm increments) |
| Cabinet Depth (Base) | 600mm | 500mm–700mm (subject to clearance) |
| Door Thickness | 16mm | 12mm–22mm (MDF, plywood, or solid wood) |
| Shelf Load Capacity | 15kg/m² (uniformly distributed) | Up to 30kg/m² with reinforced brackets |
| Finish Type | Melamine foil | PU paint, PVC wrap, veneer, HPL |
Installation precision directly affects longevity and usability. Cabinet alignment—verified using laser levels across the entire run—must maintain vertical tolerance within ±2mm and horizontal alignment within ±3mm over 3 meters. Shim packs behind base cabinets correct floor slope, while wall-mounted upper cabinets require secure anchoring into studs or concrete with appropriate fasteners (e.g., M8×80mm screws for masonry).
After installation, a 24-hour settling period is recommended before loading shelves or adjusting doors. This allows adhesives and substrates to stabilize, reducing the risk of misalignment due to creep. Final hardware adjustments—hinge depth, slide tension, and door gap uniformity—should be performed under load to reflect real-world conditions.
Maintenance protocols are straightforward but essential for preserving appearance and function. Surfaces should be cleaned with pH-neutral detergents and microfiber cloths; abrasive pads or solvent-based cleaners can degrade finishes over time. Hinge lubrication (silicone-based, every 12 months) and slide inspection (for debris or wear) prevent operational degradation in high-use environments.
For project-specific guidance—including load calculations, material compatibility assessments, or coordination with mechanical/electrical plans—consultation with a technical design team is advised. Providing detailed floor plans, wall conditions, and appliance schedules enables accurate quotation and reduces the risk of field modifications.